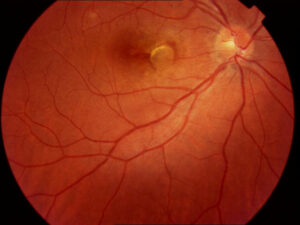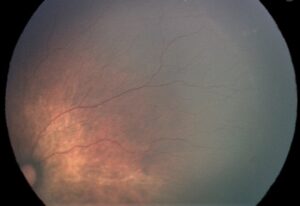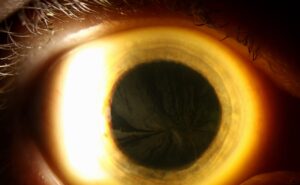
Scleral depression is the technique of gently indenting the wall of the eye while viewing the retina with an indirect ophthalmoscope.
It brings the far periphery into view, where most retinal tears and holes occur, and it adds a dynamic view that shows elevations and breaks that look flat from a distance.
It is also a skill that clinicians must learn, and it is one of the most useful in retinal examination.
Why Scleral Depression Matters
Without indentation, the view of the peripheral retina is limited to the area up to the equator and a little beyond, because the optics of the eye and the pupil block the view.
Many retinal breaks and dialyses occur at or in front of the equator, so clinicians can miss them (see horseshoe tears and retinal dialysis).
In addition, indentation moves the retina toward the line of sight and creates a mound that the examiner can view from the front, and it allows examination of the ora serrata and the pars plana.
Scleral Depression: When to Do It
- New flashes and floaters, and suspected posterior vitreous detachment (see posterior vitreous detachment)
- Suspected retinal tear or detachment
- After trauma, when there is no open globe
- Before cataract or refractive surgery in patients with risk of detachment
- Risk groups, such as high myopia and Stickler syndrome
- Evaluation of lattice degeneration and other peripheral lesions (see lattice degeneration)
- Planning laser or cryotherapy
Dilate the pupil as widely as possible before starting.
Fundus Explorer Pro
Photograph the retinal findings described here with the phone already in your pocket — 22 D optics and built-in illumination in one handheld unit.
From Choroida — the team behind this siteInstruments
- Scleral depressor: a metal or plastic instrument with a thimble, a ring, or a rod and a curved tip, held in the hand or worn on the finger
- Cotton-tipped applicator: a simple option, with a soft tip and good control
- Muscle hook or specific tips: used in surgery
The surface should be smooth, and the tip should be small enough to indent precisely.
Scleral Depression: Technique in Steps
- Seat the patient reclined or supine, with the lids open, and instill topical anesthetic if needed
- First, use the indirect ophthalmoscope and a condensing lens, usually 20 diopters, to see the retina
- Ask the patient to look in the direction of the quadrant being examined, and then place the depressor on the outer surface of the upper or lower lid, or directly on the conjunctiva in some positions
- Position the tip over the area behind the area to be seen, and indent in the direction of the center of the eye
- Move the depressor and the lens together, so that the area to be examined stays in view
- Follow the tip in an arc around the periphery, covering all 360 degrees, and also look at each clock hour
- Finally, compare the appearance with and without indentation, and note any break or change
Use the free hand to hold the lens and to stabilize the lid.
Scleral Depression: Examining the Quadrants
- Superior quadrants: with the patient looking down, place the depressor on the upper lid, above the tarsal border, and indent
- Inferior quadrants: with the patient looking up, indent through the lower lid
- Nasal and temporal sides: use the direct conjunctival approach after anesthesia, with care not to press on the cornea
Start posteriorly and move forward until you see the ora serrata and the pars plana.
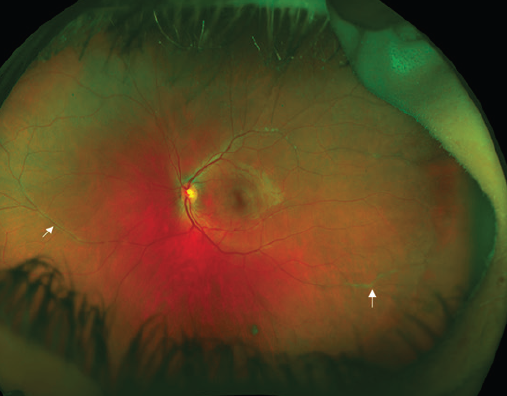
What You See
- The ora serrata teeth and bays, and ora pearls
- The pars plana and the vitreous base, with the pigmented line
- Retinal tears, holes, and dialyses, with the vitreous attached or detached
- Lattice degeneration, snail tracks, white without pressure, and other degenerations (see peripheral retinal degenerations)
- Peripheral retinoschisis and detachment
The dynamic view shows breaks as red areas with a glistening edge when indented.
Safety and Contraindications
- Do not indent over an open globe, a fresh wound, or a recent surgical incision
- Be careful in eyes with recent surgery, glaucoma filtering blebs, or thin sclera
- Avoid pressing hard or for long periods, which can also raise the pressure and block the retinal circulation
- Take care in eyes with severe hyphema, vitreous hemorrhage, or suspected retinal tear with hemorrhage, to avoid worsening the situation
- Stop if the patient has pain, vomiting, or fainting, from the oculocardiac reflex
Common Errors
- Pressing too hard, which causes pain and blanching
- Failing to dilate adequately
- Not covering all the quadrants, or skipping the periphery of the fellow eye
- Not holding the depressor and lens in coordination
- Misinterpreting an indentation fold or the ora as a break
Teaching Tips
Practice on a model or a willing colleague, and begin with the superior retina, because it is easiest.
Draw a chart of the findings, and compare with the images from widefield photography, which can also help to learn (see ultra-widefield retinal imaging).
Practice regularly, since the skill fades quickly.
For the latest studies, see the PubMed results for scleral depression.
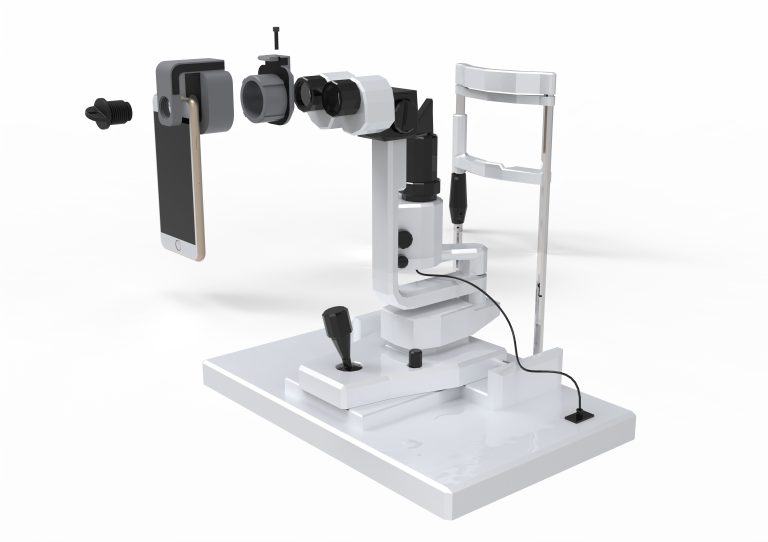
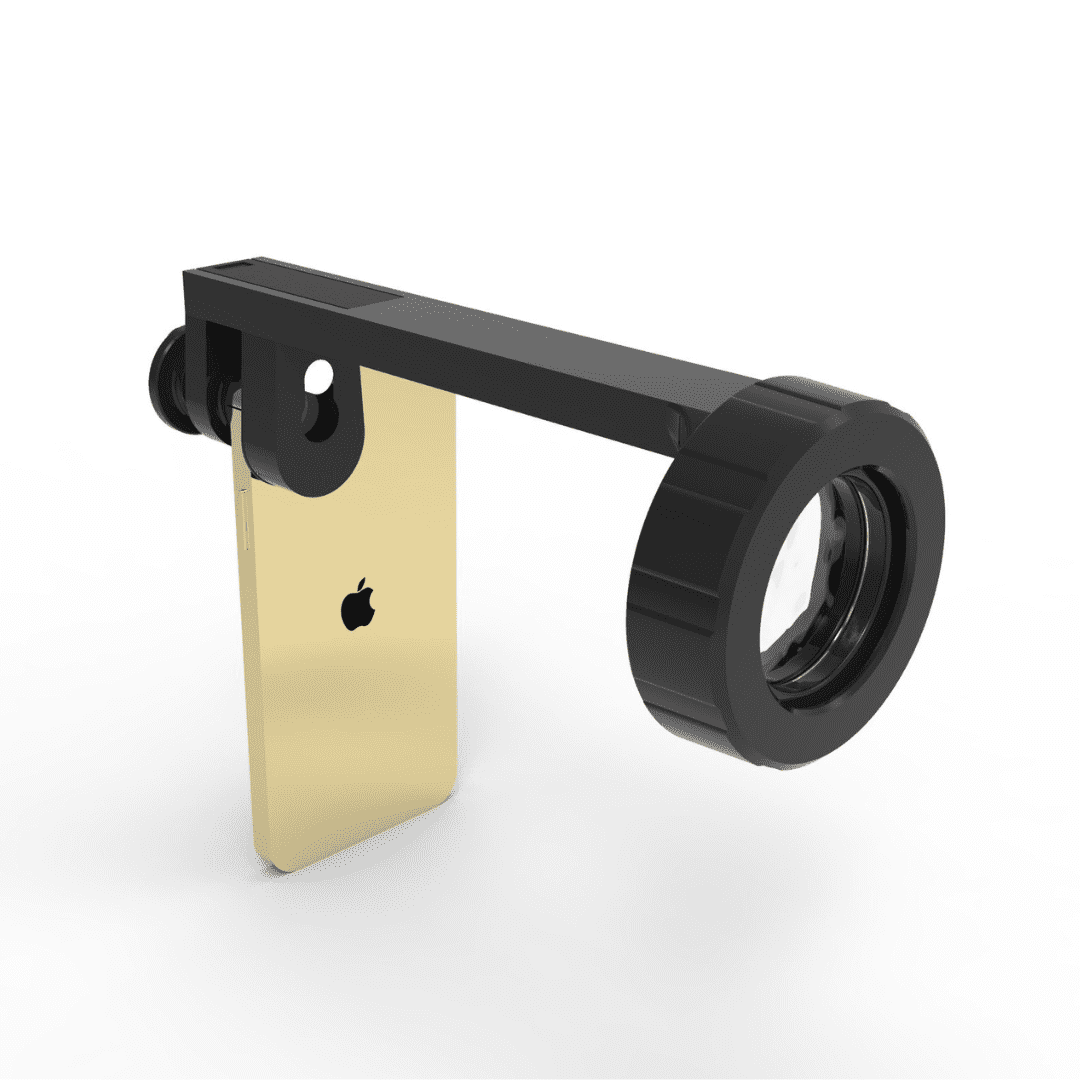
Document what you see
Two smartphone imaging tools built for everyday clinic use — one for the slit lamp, one for the fundus.
From Choroida — the team behind this siteReferences
- Ryan SJ, Schachat AP, Wilkinson CP, et al, eds. Retina. 6th ed. Elsevier; 2018.
- Salmon JF. Kanski’s Clinical Ophthalmology: A Systematic Approach. 9th ed. Elsevier; 2020.
- Yanoff M, Duker JS, eds. Ophthalmology. 5th ed. Elsevier; 2019.
- American Academy of Ophthalmology. Basic and Clinical Science Course, Section 12: Retina and Vitreous. AAO; current edition.

Writes and reviews the clinical articles on Educate. Every post is checked against peer-reviewed sources before it goes live.