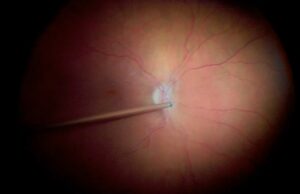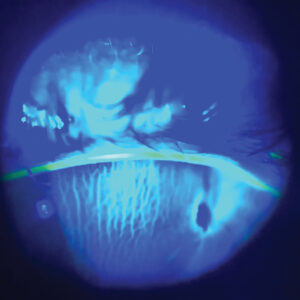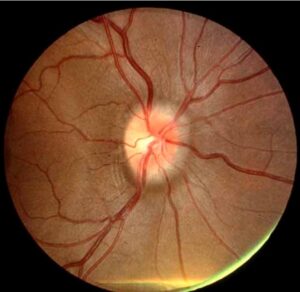
Red-free photography uses green or blue-green light, about 540 nm, to remove the red background of the fundus and to increase the contrast of blood and nerve fibers.
Hemoglobin and melanin absorb this wavelength, so vessels, hemorrhages, and pigment look dark against a pale background.
The technique is simple, yet it reveals features that color images may hide.
How Red-Free Photography Works
The red and orange light of a normal fundus photograph reflects from the choroid and the RPE and flattens the image.
A green filter removes these wavelengths, so the retina appears in shades of gray.
Structures that absorb green light, such as blood, stand out sharply, and the nerve fiber layer becomes visible as striations.
Uses of Red-Free Photography
- Retinal nerve fiber layer defects in glaucoma and optic neuropathy
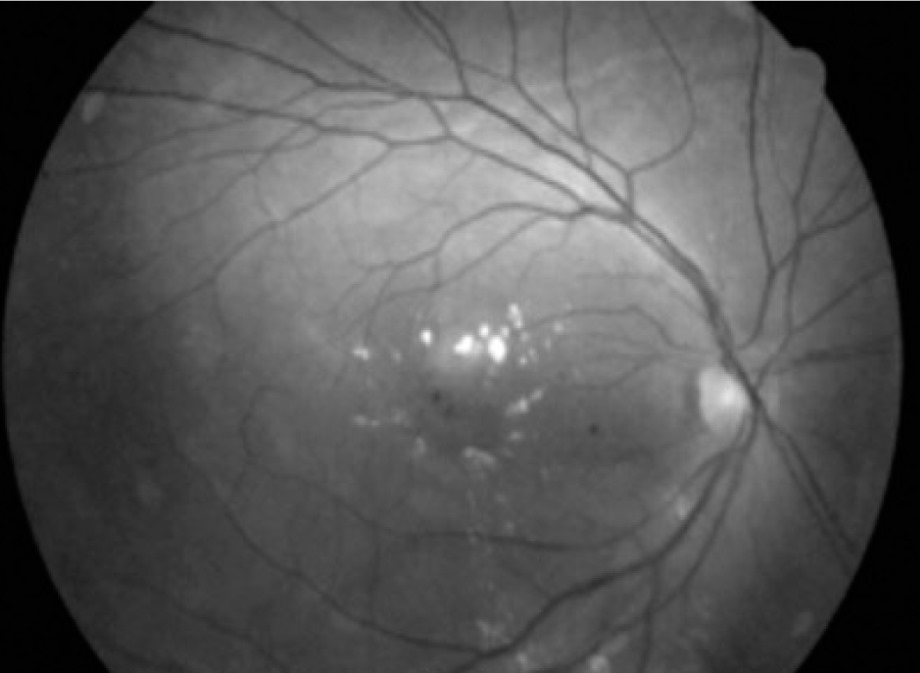
- Microaneurysms and small hemorrhages in diabetic retinopathy
- Drusen, epiretinal membranes, and pigment changes
- Vascular tortuosity, sheathing, and collaterals
Hoyt and colleagues described nerve fiber layer defects on red-free images, and the method remains a classic teaching tool (see retinal hemorrhage patterns).
Fundus Explorer Pro
Photograph the retinal findings described here with the phone already in your pocket — 22 D optics and built-in illumination in one handheld unit.
From Choroida — the team behind this siteNerve Fiber Layer Imaging
In healthy eyes, the nerve fiber layer shows fine striations that fan out from the disc.
Wedge-shaped dark areas indicate localized loss, as seen in glaucoma and in optic neuropathies.
Airaksinen and colleagues used wide-angle red-free photographs to study these defects.
OCT now measures thickness more precisely, but photographs help to document the pattern over time.
Technique of Red-Free Photography
Choose a camera with a green filter or use the monochrome mode of a digital fundus camera.
Dilate the pupil, focus on the vessels or the nerve fiber layer, and capture the image.
Use a high resolution and avoid overexposure, which washes out the fine detail (see retinal imaging by your smartphone).
Many systems capture color and red-free images in a single session.
Red-Free Photography Versus Fluorescein Angiography
Red-free images show hemorrhages and vessel walls but not leakage or perfusion.
Angiography shows blood flow and leakage with fluorescein dye.
Therefore, red-free photography complements angiography, and the clinician can use it when dye is not advisable.
Pitfalls of Red-Free Photography
- Overexposed images that lose contrast
- Media opacities that reduce detail
- Misreading choroidal vessels as retinal ones in thin fundi
- Comparing images taken with different cameras
Practical Points
Capture red-free images at baseline, and repeat on the same device at follow-up.
Annotate the images with the date and the eye.
An Example Case
A 58-year-old man has ocular hypertension and a suspicious disc, and OCT is borderline.
A red-free photograph shows a wedge-shaped dark band of nerve fiber loss along the inferotemporal arcade.
The OCT thickness map confirms thinning in the same sector, and the visual field shows a matching defect.
He starts treatment, and the photograph becomes a baseline for follow-up.
Questions Patients Ask
Patients ask why the picture is gray, and the answer is that the green filter removes red tones to show fine detail.
They also ask whether the pictures need special drops, and standard dilation works.
Because the images are quick, explain that no extra time is needed.
Pitfalls to Avoid
- Judging fiber loss in an eye with media opacity
- Reading choroidal vessels as retinal vessels
- Comparing images from different cameras and filters
- Overexposing the image so that fine detail disappears
Looking Ahead
OCT has taken over most quantitative work, but photographs still document appearance.
Also, deep learning tools can read red-free images for nerve fiber defects.
Therefore, the technique may regain value in screening programs.
Practical Points
Capture the red-free image in the same session as the color image.
Then label the eye and the date, and store the images with the OCT.
Also use the same field of view over time.
Choosing the Filter
A filter near 540 nm gives the highest contrast for hemoglobin.
Because blue-green filters also show nerve fibers, many cameras offer a single combined setting.
Then test the setting on a healthy eye so that you know the normal appearance.
Documentation and Teaching
Store red-free images beside the color images in the record.
Also use them in teaching, since the fiber pattern is easy to demonstrate.
Because the photographs are quick to take, they suit busy clinics.
Reading a Red-Free Image Step by Step
Start with the disc, and look for the fine striations that fan out from it.
Then follow each arcade, and note any dark wedge that interrupts the striations.
Next, scan the macula for small dark dots that mark hemorrhages or microaneurysms.
Finally, compare with the fellow eye, since asymmetry helps the diagnosis.
Because the image is monochrome, correlate it with the color photograph before concluding.
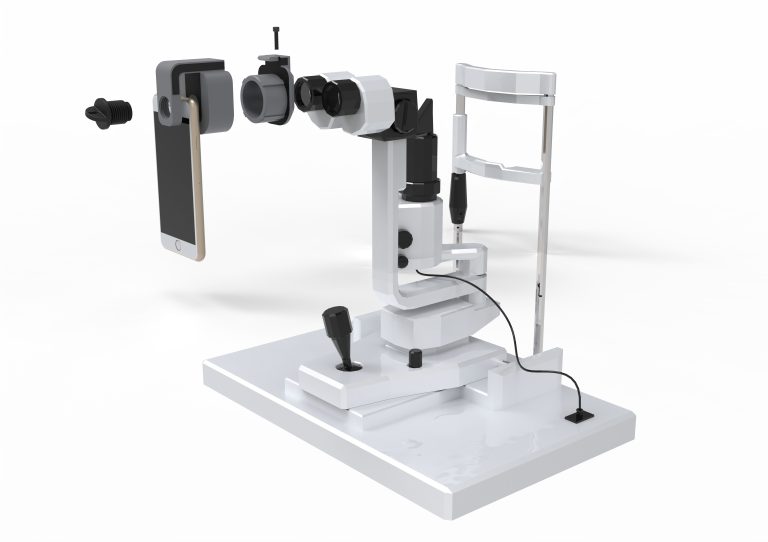
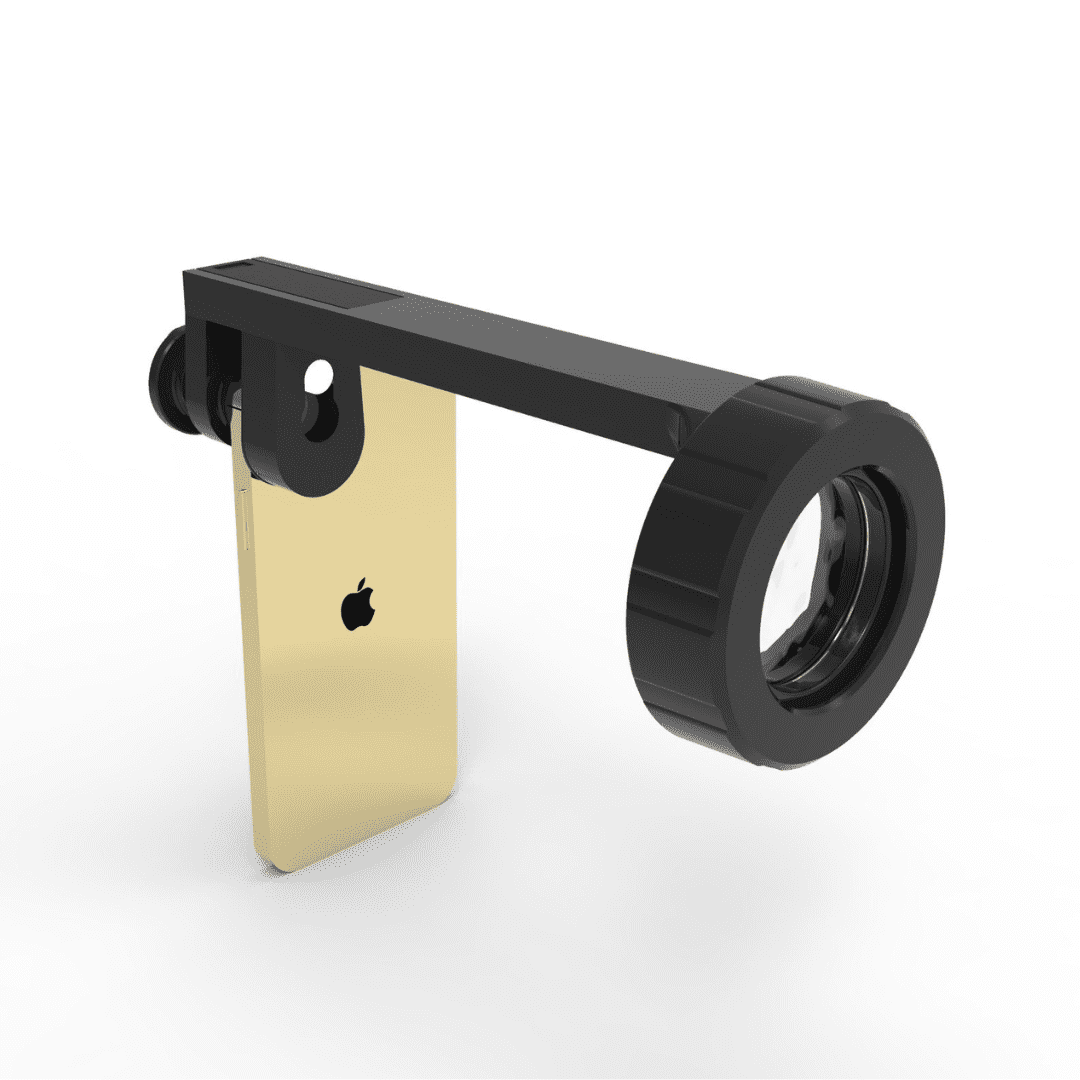
Document what you see
Two smartphone imaging tools built for everyday clinic use — one for the slit lamp, one for the fundus.
From Choroida — the team behind this siteReferences
- Hoyt WF, Frisen L, Newman NM. Fundoscopy of nerve fiber layer defects in glaucoma. Invest Ophthalmol. 1973;12:814-829.
- Airaksinen PJ, Nieminen H, Mustonen E. Retinal nerve fibre layer photography with a wide angle fundus camera. Acta Ophthalmol. 1982;60:362-368.
- Bernardes R, Serranho P, Lobo C. Digital ocular fundus imaging: a review. Ophthalmologica. 2011;226:161-181.
- American Academy of Ophthalmology. Basic and Clinical Science Course, Section 12: Retina and Vitreous. AAO; current edition.

Writes and reviews the clinical articles on Educate. Every post is checked against peer-reviewed sources before it goes live.