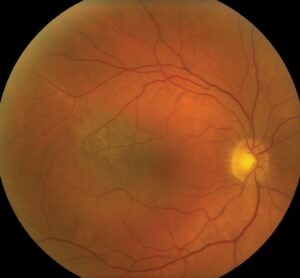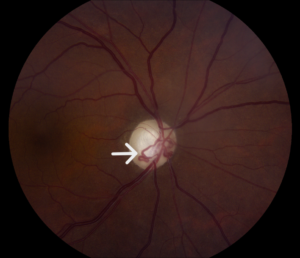
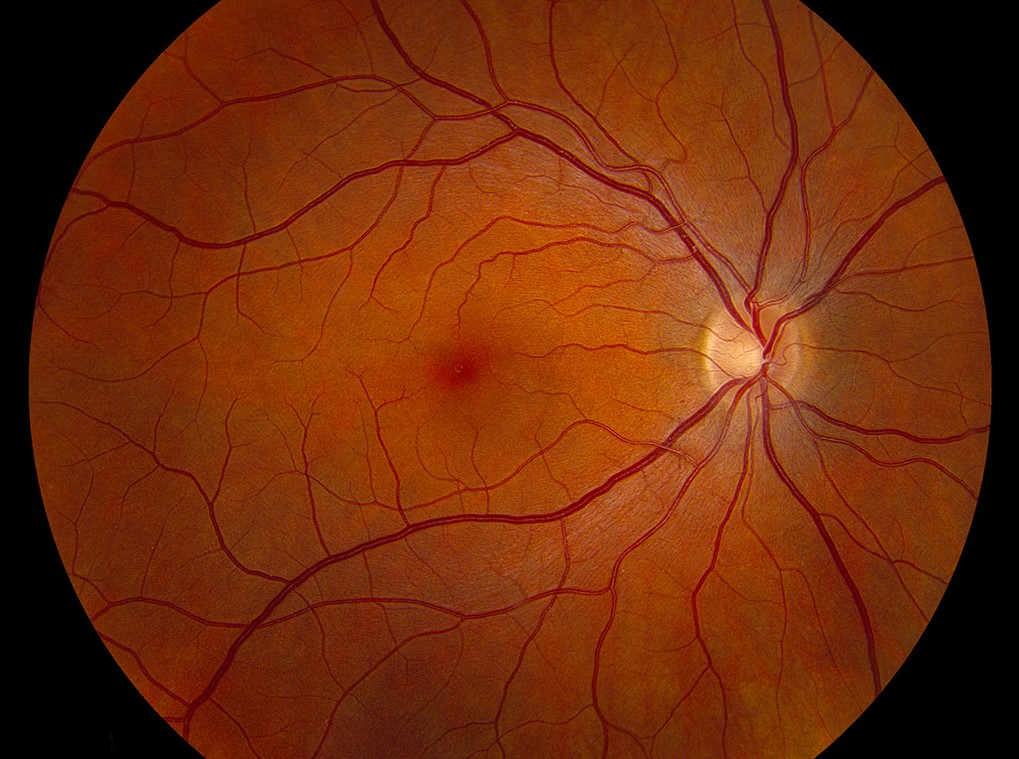
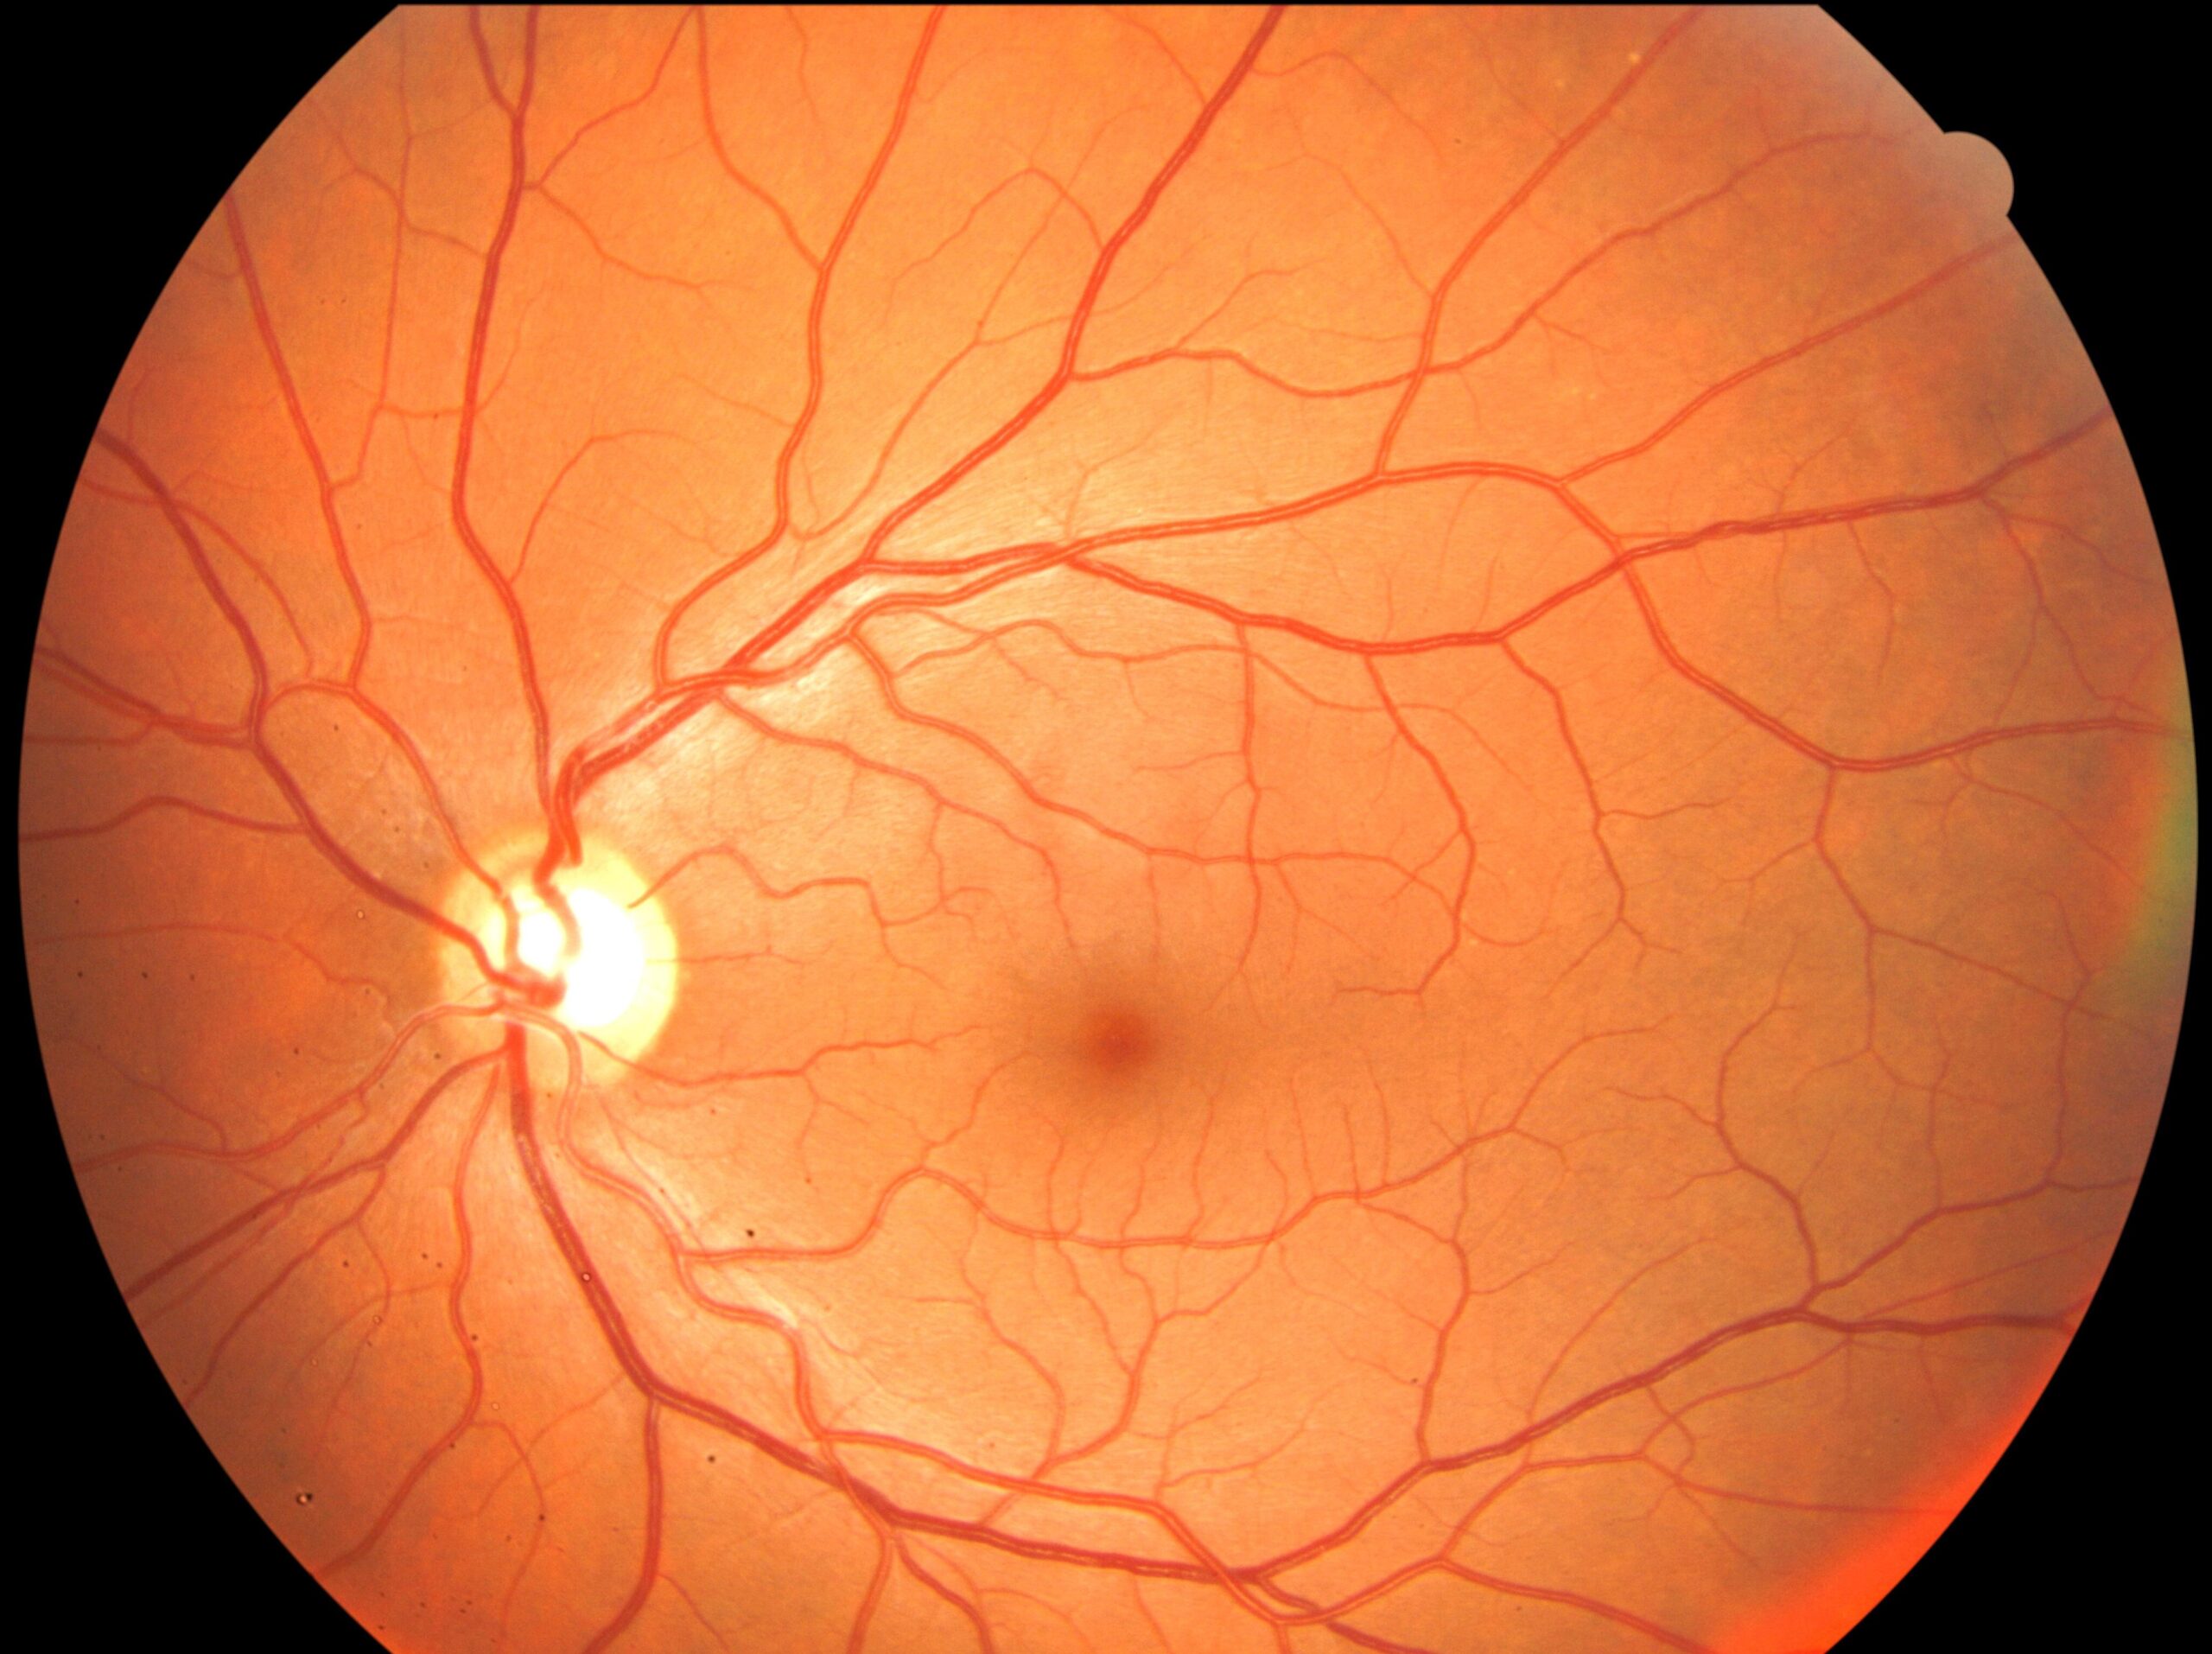
Fundus photography records the retina, the optic disc, and the vessels as a color image that clinicians can compare over time.
It supports diagnosis, screening, and teaching, and it needs only a modest device.
Good technique and careful reading make the difference between a useful image and a misleading one.
How Fundus Photography Works
A fundus camera uses an optical system that illuminates the retina through the pupil and collects the reflected light.
Standard cameras capture a field of 30 to 50 degrees, and wide-field systems capture much more.
Mydriatic cameras need a dilated pupil, while non-mydriatic systems use infrared light to align the camera before a flash.
Smartphone-based systems also exist, and they enlarge access in clinics with limited resources (see retinal imaging by your smartphone).
Technique for Fundus Photography
Dilate the pupil when the media allow, and darken the room.
Align the camera with the pupil, adjust the focus using the optic disc or the macula, and ask the patient to look at a target.
Capture the macula-centered and disc-centered fields, and add peripheral fields when disease requires it.
Check each image for focus and illumination before the patient leaves.
Fundus Explorer Pro
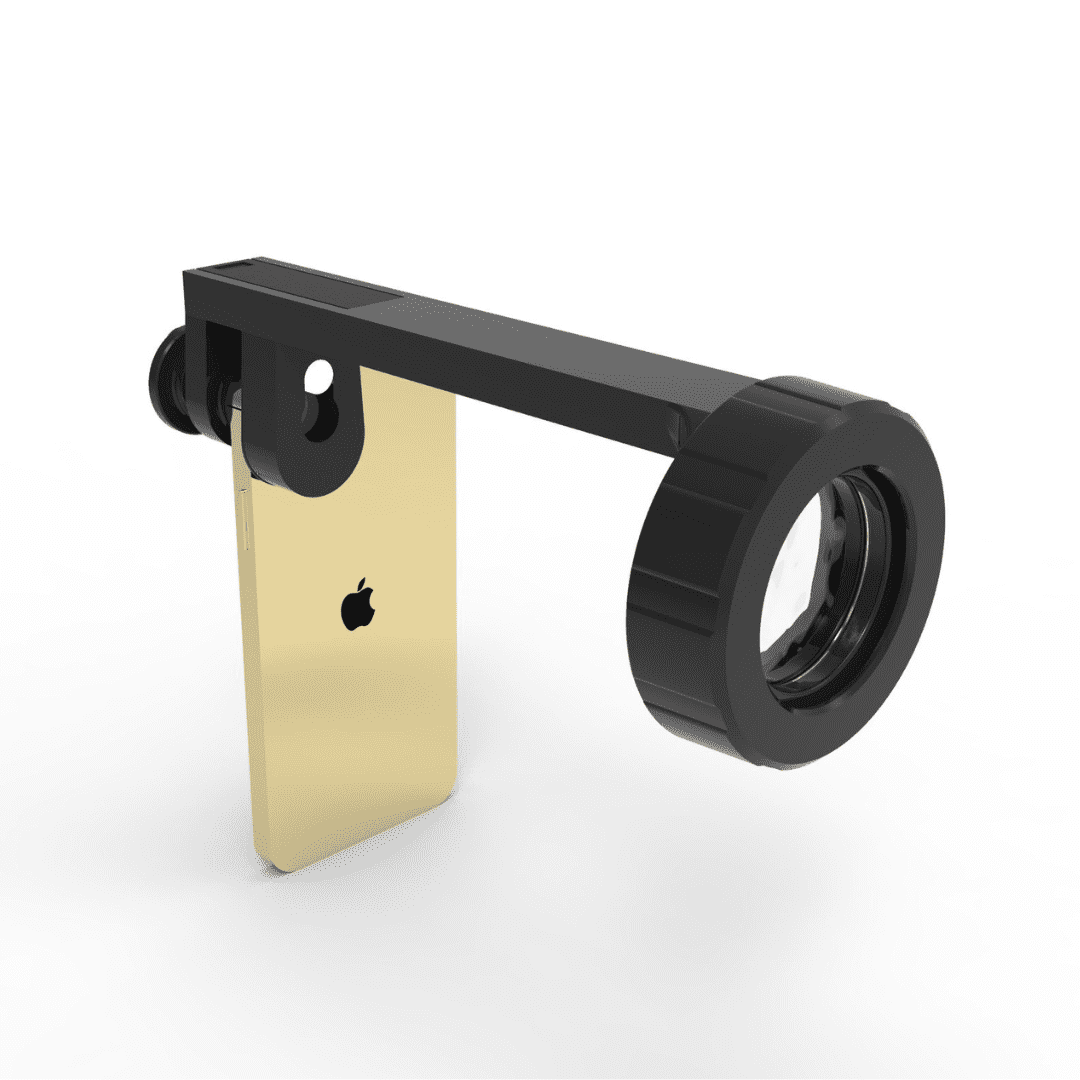
Photograph the retinal findings described here with the phone already in your pocket — 22 D optics and built-in illumination in one handheld unit.
From Choroida — the team behind this siteStandard Field Protocols
The ETDRS used seven stereoscopic 30-degree fields to grade diabetic retinopathy.
Screening programs often use two fields per eye, one on the macula and one on the disc.
Red-free images improve contrast for the nerve fiber layer and for hemorrhages.
Stereo pairs help with disc contour and macular edema.
Common Fundus Photography Artifacts
- Reflections from the cornea and lens, seen as bright arcs
- Haze from media opacities and small pupils
- Lashes or eyelids crossing the field
- Dust spots on the lens, which appear in the same place in every image
Clean the lens regularly, and retake images with obvious artifacts (see best ways for retinal photography).
Reading Fundus Photography Images
Review the image systematically.
Start with the optic disc, then the vessels, the macula, and the periphery.
Compare both eyes, and compare current images with previous ones.
Record lesions with a clear description, since photographs alone may omit important context.
Uses and Limits of Fundus Photography
Photographs document diabetic retinopathy, glaucoma, tumors, and other disease.
Automated analysis tools now help with screening, though they require validated systems (see AI diabetic retinopathy screening).
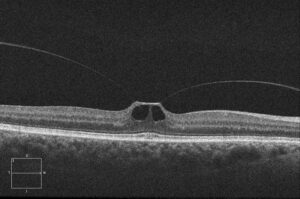
However, photography shows only the surface, so OCT adds the depth and the cross-sectional information.
An Example Case
A 55-year-old man with diabetes attends a screening clinic with no symptoms.
A non-mydriatic camera captures two fields per eye, and the images show scattered microaneurysms and a few dot hemorrhages.
The screening program grades the images as mild nonproliferative retinopathy and recommends review in a year.
The photographs also serve as a baseline for later comparison.
Questions Patients Ask
Patients ask whether the flash will hurt the eye, and the light is bright but safe.
They also ask why drops are needed, and drops widen the pupil so the camera sees more of the retina.
Because the flash may leave spots in vision for a minute, warn patients before the first image.
Pitfalls to Avoid
- Sending images without checking focus and field coverage
- Overlooking dust spots that repeat across images
- Interpreting a single field as a complete examination
- Forgetting to label eye, date, and field position
Looking Ahead
Wide-field and smartphone systems will extend access to retinal imaging.
Artificial intelligence will grade images in many programs, while clinicians remain responsible for the final decisions.
However, image quality still decides how useful any system is.
Practical Points
Train staff to capture good images and to recognize artifacts.
Then audit image quality regularly, and retake images that miss the macula.
Also store images in a system that lets clinicians compare them over time.
Choosing a Fundus Photography Camera
Choose a system by field of view, portability, and cost.
Because desktop cameras give the best quality, clinics use them for documentation.
Meanwhile, handheld and smartphone devices suit outreach and bedside use.
Also check whether the software exports to your record system.
Image Storage and Privacy
Store images securely, and label them with the patient identifier.
Then follow local rules on consent for teaching and research.
Also back up the files regularly.
Quality Checklist
Confirm that the disc and macula both appear in focus.
Then check that the image is evenly lit, without dark corners.
Also verify the eye label and the date before saving.
Because poor images waste time, retake them while the patient is still present.
For the latest studies, see the PubMed results for fundus photography.
Document what you see
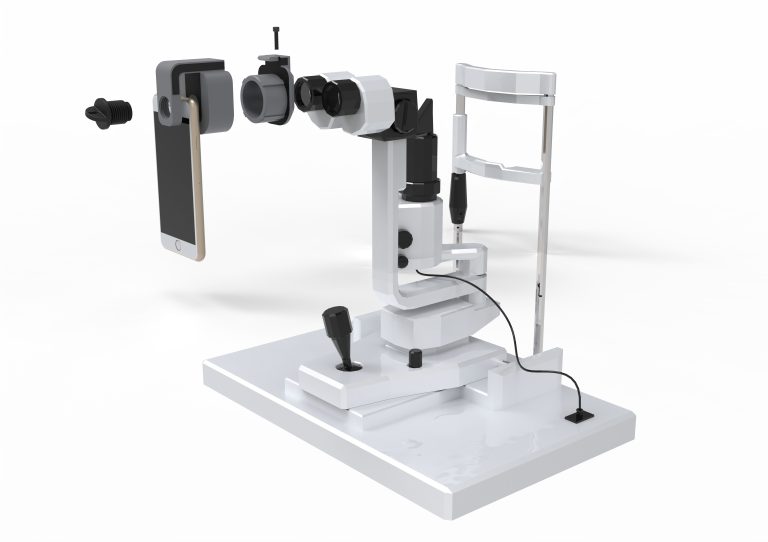
Two smartphone imaging tools built for everyday clinic use — one for the slit lamp, one for the fundus.
From Choroida — the team behind this siteReferences
- Early Treatment Diabetic Retinopathy Study Research Group. Grading diabetic retinopathy from stereoscopic color fundus photographs: an extension of the modified Airlie House classification. ETDRS report number 10. Ophthalmology. 1991;98:786-806.
- Bernardes R, Serranho P, Lobo C. Digital ocular fundus imaging: a review. Ophthalmologica. 2011;226:161-181.
- Panwar N, Huang P, Lee J, et al. Fundus photography in the 21st century: a review of recent technological advances and their implications for worldwide healthcare. Telemed J E Health. 2016;22:198-208.
- American Academy of Ophthalmology. Basic and Clinical Science Course, Section 12: Retina and Vitreous. AAO; current edition.

Writes and reviews the clinical articles on Educate. Every post is checked against peer-reviewed sources before it goes live.