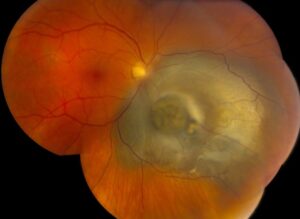
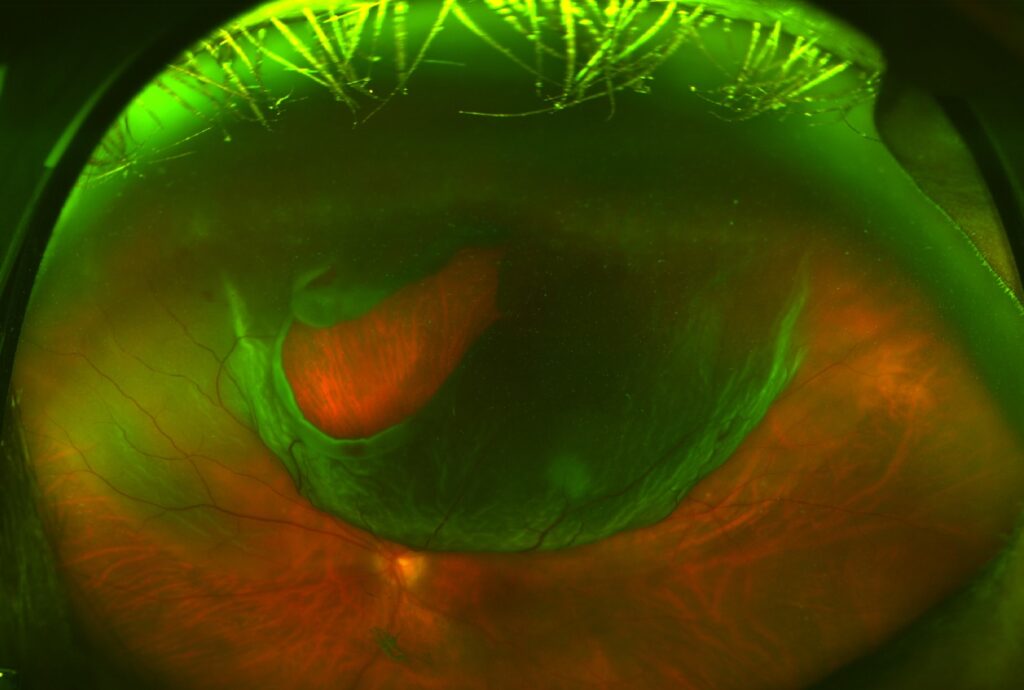
The Lincoff rules predict the location of the primary retinal break from the pattern of subretinal fluid.
Lincoff and Gieser published them in 1971, and surgeons still use them in the clinic and in the theater.
Therefore, they guide the examination and shorten the search for the causative break.
Why the Lincoff Rules Work
Subretinal fluid follows gravity and the anatomy of the vitreous base.
Fluid first spreads downward and then fills the quadrants in a predictable way.
Also, the highest border of the detachment lies close to the break.
Therefore, the shape of the fluid points back to the source (see rhegmatogenous retinal detachment).
Lincoff Rules for Superior Detachments
- A superior temporal or superior nasal detachment has its break within 1.5 clock hours of the highest border
- A superior detachment that crosses the midline has its break at 12 o’clock
Check the periphery along the highest edge first.
Horseshoe tears are the most common finding there (see horseshoe tears).
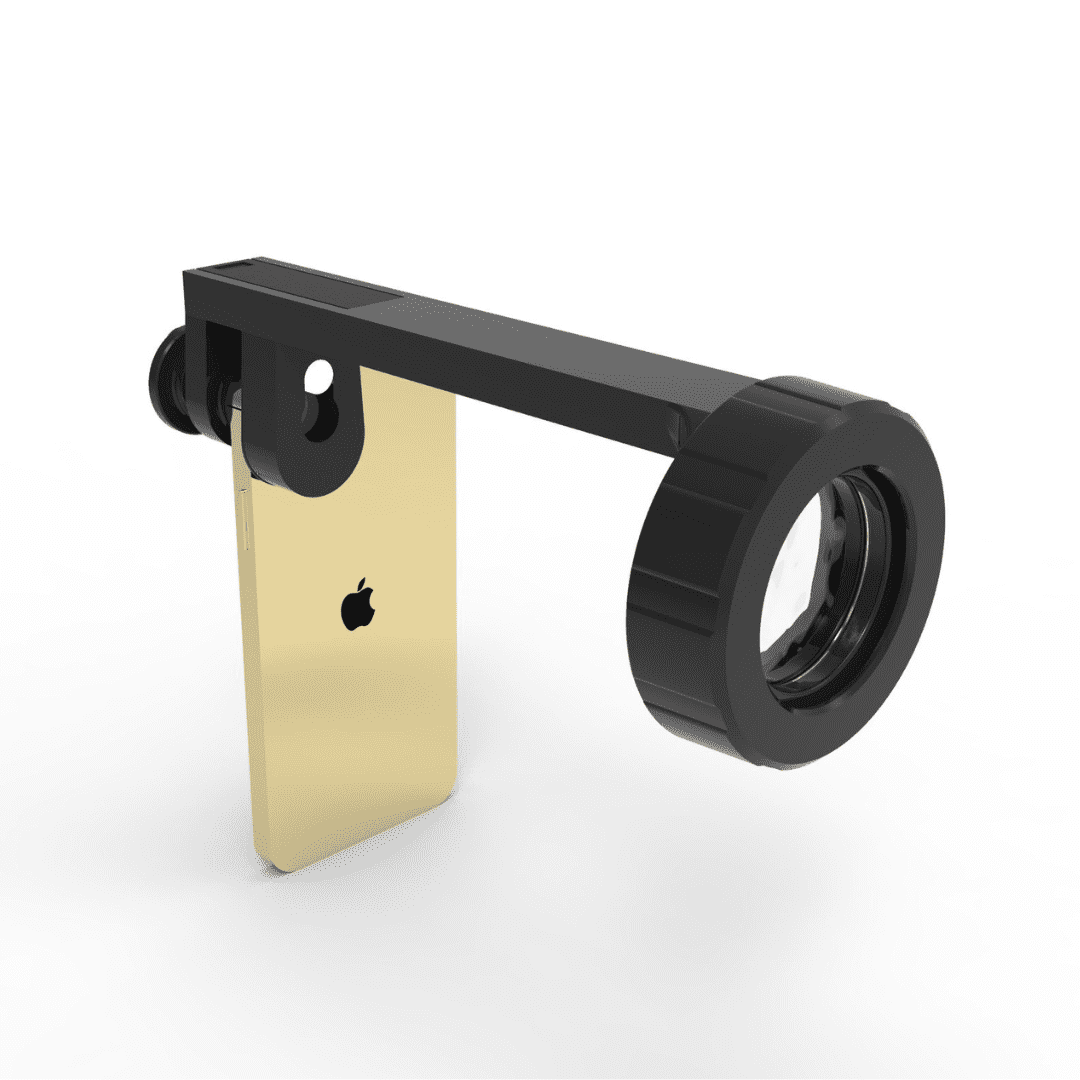
Fundus Explorer Pro
Photograph the retinal findings described here with the phone already in your pocket — 22 D optics and built-in illumination in one handheld unit.
From Choroida — the team behind this siteLincoff Rules for Inferior Detachments
- An inferior detachment with higher fluid on one side has its break on the higher side
- An inferior detachment with equal levels on both sides has its break at 6 o’clock
Inferior detachments develop more slowly, and they often arise from superior breaks.
Also, a long-standing inferior detachment may show a demarcation line.
Applying the Lincoff Rules at the Bedside
First, draw the extent of the detachment on a chart.
Then identify the highest border and the side of the highest fluid level.
Use scleral depression and a three-mirror lens to inspect the predicted zone.
Also search the other quadrants, because multiple breaks occur in many eyes.
Exceptions to the Lincoff Rules
- Giant retinal tears and dialyses, which are large and obvious (see giant retinal tear)
- Macular holes, mainly in myopic eyes
- Tractional or combined detachments
- Previous surgery or trauma
In these settings, the usual pattern may not hold.
Why Finding the Break Matters
Surgery succeeds when the surgeon closes all of the breaks.
Therefore, finding the primary break guides the choice between buckle and vitrectomy (see scleral buckle surgery).
Also, pneumatic retinopexy requires accurate break localization (see pneumatic retinopexy).
Ghazi and Green reviewed the pathology that underlies these detachments.
Limits and Modern Practice
Wide-field imaging and OCT now help to find breaks that were once hidden.
Also, intraoperative viewing systems show the periphery well.
However, the rules still give a reliable starting point, and they train the eye.
A Worked Example
Imagine a detachment that extends from 9 o’clock to 12 o’clock, with the highest border at 11 o’clock.
The primary break should lie within 1.5 clock hours of that border.
Therefore, concentrate the depression examination between 10 and 12:30.
Also, remember to scan the rest of the periphery for additional breaks.
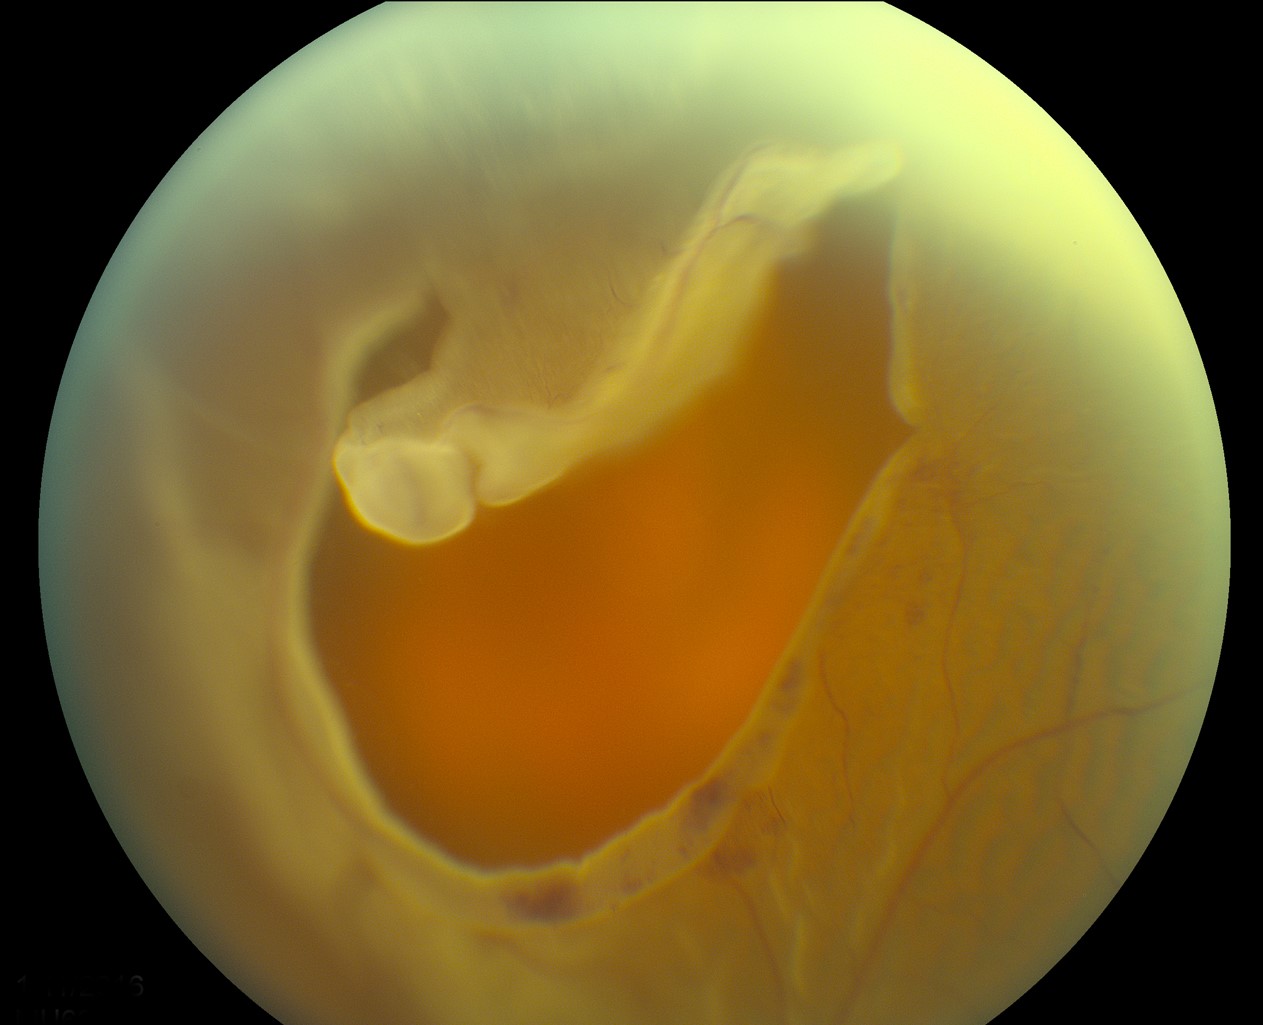
Documenting the Findings
Use the standard color code on the fundus chart.
Draw detached retina in blue and attached retina in red, and draw the breaks in red with a blue outline.
Also record the clock hours and the distance from the ora.
Because the chart guides surgery, make it clear.
Scleral Depression Technique
Use gentle pressure, and place the indenter at the ora.
Also rotate the eye so that the peripheral retina comes into view.
Then examine each clock hour, and mark any suspicious finding.
Because patients may find the procedure uncomfortable, anesthetize the surface.
Pitfalls in Practice
Media opacities such as vitreous hemorrhage hide the break.
Also, pseudophakic eyes may have small peripheral breaks that are hard to see.
Therefore, use ultrasound and wide-field imaging when the view is poor.
Remember that proliferative vitreoretinopathy can distort the usual pattern.
Teaching Value
Trainees learn to read the fluid like a map.
Also, the rules build the habit of a systematic search.
Because a missed break is a common cause of failure, this habit protects patients.
Key Points for the Clinician
The shape of the detachment points to the break.
Also, each rule has exceptions that you should know.
Because multiple breaks occur, never stop after the first.
Common Errors
Some clinicians search only the area near the macula.
Also, others stop after finding one break.
Because the highest border carries the answer, return to it when your search fails.
When the Rules Help Most
The rules help most in eyes with a poor view, such as eyes with a dense cataract or a small pupil.
Also, they speed up the search in bullous detachments.
Therefore, review them before every detachment examination, and use them as a checklist.
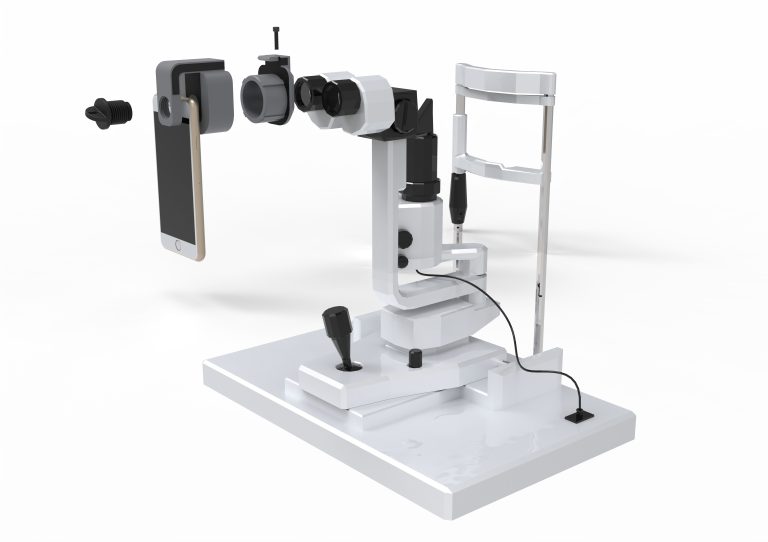
Document what you see
Two smartphone imaging tools built for everyday clinic use — one for the slit lamp, one for the fundus.
From Choroida — the team behind this siteReferences
- Lincoff H, Gieser R. Finding the retinal hole. Arch Ophthalmol. 1971;85:565-569.
- Ghazi NG, Green WR. Pathology and pathogenesis of retinal detachment. Eye. 2002;16:411-421.
- Feltgen N, Walter P. Rhegmatogenous retinal detachment: an ophthalmologic emergency. Dtsch Arztebl Int. 2014;111:12-22.
- Mitry D, Charteris DG, Fleck BW, Campbell H, Singh J. The epidemiology of rhegmatogenous retinal detachment: geographical variation and clinical associations. Br J Ophthalmol. 2010;94:678-684.

Writes and reviews the clinical articles on Educate. Every post is checked against peer-reviewed sources before it goes live.